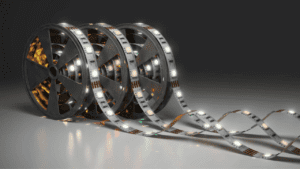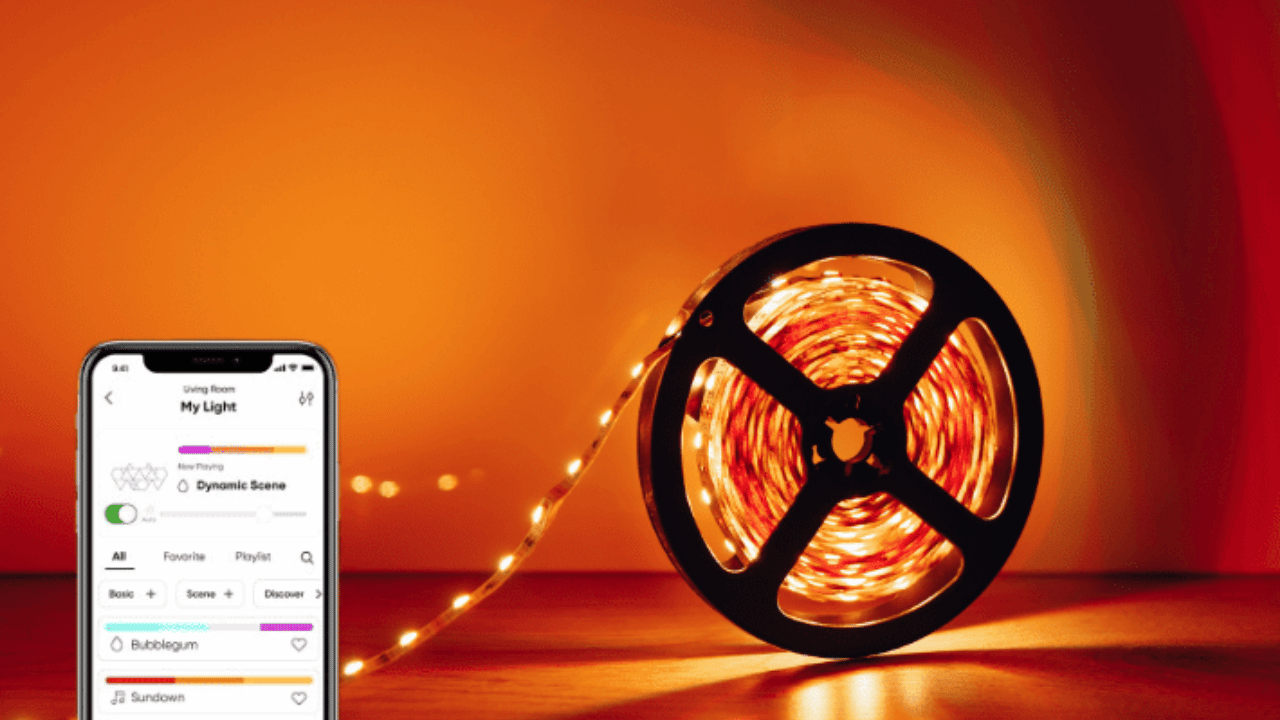
To connect Daybetter LED lights to app, follow these steps: Download and install the Daybetter app from the App Store or Google Play. Open the app and create an account.
Please turn on the LED lights and ensure they are in pairing mode. On the app, tap the plus sign (+) to add a device and select “LED Strip Lights. ” Follow the on-screen instructions to connect the lights to the app.
Understanding The Daybetter Led Lights
Learn how to connect your Daybetter LED lights to the app easily. Discover step-by-step instructions for a seamless connection and customize your lighting experience effortlessly. Get the most out of your Daybetter LED lights with just a few taps on your smartphone.
The Daybetter LED lights are a versatile lighting solution that can add ambiance and a personal touch to any space. These LED lights have various features and functionalities, making them popular among users. Understanding the different aspects of the Daybetter LED lights is essential to effectively connect them to the app and leverage their full potential.
Explanation Of The Features And Functionality Of The Daybetter Led Lights:
- Remote control compatibility: The Daybetter LED lights can be conveniently controlled using a remote control, allowing users to adjust brightness, change colors, and select from various lighting modes.
- Customizable colors: Daybetter LED lights offer users a versatile selection of colors, allowing them to customize the lighting to match their mood and environment. These lights can be effortlessly tailored to your preferred color scheme, whether aiming for a serene and soothing atmosphere or an energetic and lively party vibe.
- Dimmable brightness: The LED lights offer adjustable brightness levels, enabling users to create the perfect lighting environment for any occasion.
- Music synchronization: One of the standout features of the Daybetter LED lights is their ability to synchronize with music. Connecting the lights to the app allows users to enjoy a dynamic light show that pulsates and changes color in rhythm with the music.
- Timer function: The lights come equipped with a timer function that allows users to set specific time durations for the lights to turn on or off automatically. This feature adds convenience and ensures energy efficiency.
Brief Description Of The Benefits Of Connecting The Lights To The App:
- Enhanced control: Connecting the Daybetter LED lights to the app provides users with advanced control options. They can easily adjust colors, brightness, and lighting modes directly from their smartphones, making it even more convenient to create the desired ambiance.
- Music customization: With the app connection, users can sync the LED lights with their favorite music playlists and experience a fully immersive audio-visual experience. The lights flash and change color in sync with the rhythms, enhancing the overall entertainment value.
- Personalized schedules: By utilizing the app’s timer function, users can set customized schedules for the LED lights to turn on and off at specific times. This capability ensures that the lights are tailored to individual routines and preferences.
- Ease of use: The app interface is user-friendly, making it simple and intuitive to control and customize the LED lights according to personal preferences. Users can easily navigate various settings and modes to create the desired lighting effect.
Understanding the features and benefits of the Daybetter LED lights is crucial for successfully connecting them to the app. Users can enjoy customized lighting experiences and effortlessly create the desired atmosphere in any space by maximizing their functionalities.
Step-By-Step Guide: How To Effortlessly Connect Daybetter Led Lights To App?
Discover the easiest way to connect your Daybetter LED lights to the app with our step-by-step guide. Effortlessly control your lights and create the perfect ambiance for any occasion, all from the convenience of your smartphone.
Step 1: Download And Install The Daybetter App
To seamlessly link your Daybetter LED lights with the app, start by downloading and installing the Daybetter app onto your smartphone or tablet. Follow these instructions to get started:
- Visit the App Store (for iOS) or Google Play Store (for Android) on your mobile device.
- Search for the Daybetter app in the search bar.
- Once you locate the app, tap on it to open the app page.
- Click the “Install” or “Get” button to initiate the download and installation process.
- Wait for the app to download and install on your device. This may take a few moments, depending on your internet connection speed.
Step 2: Power On The Led Lights And Make Sure They Are In Pairing Mode
After successfully installing the Daybetter app, the next step is to power on your LED lights and ensure they are ready for pairing. Follow these simple steps:
- Plug the Daybetter LED lights into a power source.
- Turn on the power switch located in the LED lights’ control box.
- The LED lights should now be in pairing mode, indicated by a flashing light or a specific color pattern. Make sure the lights are not connected to any other devices while attempting to pair with the app.
Step 3: Open The Daybetter App And Navigate To The Device Pairing Section
Now that your LED lights are in pairing mode open the Daybetter app on your mobile device and follow these instructions to navigate to the device pairing section:
- Locate the Daybetter app icon on your device’s home screen or app drawer.
- Tap on the app icon to open the Daybetter app.
- Once the app is launched, look for the device pairing section. This may be labeled as a “Pair Device” or “Connect Device.”
Step 4: Follow The On-Screen Instructions To Connect The Led Lights To The App
To successfully connect the LED lights to the app, follow the Daybetter app’s on-screen instructions. Here’s a general guideline for this step:
- The Daybetter app will scan for nearby devices. Wait for the app to detect your LED lights.
- Once the LED lights are found, select them from the list of available devices.
- Follow any prompts or instructions on the screen to complete the pairing process. This may involve confirming a passcode or pressing a button on the LED lights’ control box.
Step 5: Test The Connection And Explore The Different App Controls And Features
Congratulations! You have successfully connected your Daybetter LED lights to the app. It’s time to test the connection and explore the app’s various controls and features. Here’s what you can do:
- Turn on and off the LED lights using the app’s controls.
- Adjust the brightness and color settings to find your desired ambiance.
- Explore different lighting modes, such as strobe or fade, to create dynamic effects.
- Set timers or schedules to automate your LED lights.
- Experiment with music sync or voice control functionality, if available.
- Take time to familiarize yourself with the app and its features, and enjoy customizing your lighting experience to suit your preferences.
By following these step-by-step instructions, you can effortlessly connect your Daybetter LED lights to the app and unlock a world of possibilities for personalized lighting control. Experience the convenience and creativity of app-controlled LED lights today.
Troubleshooting Common Issues
Connect your Daybetter LED lights to the app easily using these troubleshooting tips. Follow the simple steps provided and resolve common issues quickly.
Have trouble connecting your Daybetter LED lights to the app? Don’t worry; we’ve got you covered! Here are some common issues you may encounter and their possible causes and solutions:
Issue 1: Led Lights Not Entering Pairing Mode
If your LED lights are not entering pairing mode, here are a few things you can check:
- Power supply: Ensure your LED lights are properly connected to a power source. Double-check the power adapter and make sure it is securely plugged in.
- App compatibility: Verify that your app is compatible with the Daybetter LED lights. Check for any updates available for both the app and the LED lights.
- Distance: Move closer to the LED lights and try entering pairing mode again. Sometimes, being too far away can affect the connection.
- Bluetooth settings: Make sure that Bluetooth is enabled on your device and that it is not connected to any other device. Disable and enable Bluetooth to refresh the connection.
- Resetting the lights: If none of the above solutions work, try resetting your LED lights. Look for a reset button on the control box or follow the manufacturer’s instructions to perform a reset.
Issue 2: App Not Detecting The Led Lights
If the app is not detecting your LED lights, here are a few troubleshooting steps to follow:
- App permissions: Please verify whether the application possesses the required authorization to utilize Bluetooth on your device. Navigate to your device settings and grant the app the necessary permissions.
- Bluetooth connection: Ensure your LED lights are in pairing mode and ready to be detected. Refer to the LED lights’ instructions on how to enter the pairing mode.
- Restart the app: Restart the app. Restarting the app can help refresh the connection and detect the LED lights.
- Restart your device: If the app still fails to detect the LED lights, try restarting your device. This can resolve any temporary software glitches that may be affecting the connection.
- Update the app: Update the app if available. Updating your app will ensure compatibility with the LED lights and improve performance.
Following these troubleshooting tips, you can resolve common issues when connecting your Daybetter LED lights to the app. Happy lighting!
Tips For Optimal Performance And Customization
Learn how to easily connect your Daybetter LED lights to the app for optimal performance and customization, achieving the perfect lighting ambiance in your space. Follow these simple tips to make the most out of your LED lights and enhance your environment.
Adjusting brightness and color settings:
Take advantage of the Daybetter LED Lights app to easily adjust the brightness and color settings according to your preferences. Here are a few tips to optimize your experience:
- Utilize the app’s slider controls to increase or decrease the brightness of the LED lights. Finding the perfect balance of brightness will help create the desired ambiance in any room.
- Explore different color configurations to alter the ambiance of your surroundings. Whether aiming for a lively and dynamic atmosphere or a tranquil and serene setting, the application empowers you to personalize the color scheme to align with your preferences.
- Explore the color wheel feature in the app to select specific shades or create unique color combinations. With a wide range of colors available, you can unleash your creativity and set the mood exactly how you envision it.
- Save your preferred brightness and color settings as presets for easy access. This way, you can quickly switch between different lighting preferences without having to readjust each time manually.
Exploring different lighting modes and effects
The Daybetter LED Lights app offers a variety of lighting modes and effects to add flair and excitement to your space. Here’s how you can make the most of these options:
- Dive into the app’s pre-programmed lighting modes such as “Rainbow,” “Fade,” or “Flash.” These modes automatically cycle through different colors and intensity levels, creating a dynamic and eye-catching light show.
- Customize the speed of the lighting effects to match your desired tempo and ambiance. Whether you prefer a slow and smooth transition or a fast-paced light display, the app allows you to control the speed accordingly.
- Experiment with the “DIY” mode to create your own unique lighting effects. This feature lets you create personalized patterns, color sequences, and transitions, letting your imagination run wild.
- Engaging Party mode is perfect for entertaining guests or setting the mood for a fun night. It synchronizes the LED lights with music, creating a captivating audio-visual experience that e
Integrating the LED lights with smart assistants or other devices
Take your LED lights to the next level by integrating them with smart assistants or other smart devices. Here’s how to seamlessly connect them:
- Ensure your LED lights and the respective smart device or assistant are connected to the same Wi-Fi network.
- Use the Daybetter LED Lights app to enable the device integration feature and follow the prompts to connect with your preferred smart assistant or device.
- Once connected, you can control the LED lights using voice commands or through the designated app for the smart device. For example, you can ask your smart assistant to turn on the lights or change the colors and effects without touching the app directly.
- Explore additional capabilities that come with the integration, such as setting up schedules or automating the LED lights. With smart assistants, you can integrate your LED lights into your daily routines, making them a seamless part of your smart home experience.
You can optimize the performance with these three steps and customization of your Daybetter LED Lights. Adjusting brightness and color settings, exploring different lighting modes and effects, and integrating the LED lights with smart assistants or other devices will enhance your lighting experience and bring your space to life.
How to Connect Daybetter Led Lights to Alexa?
To connect Daybetter LED Lights to Alexa, you need to download and install the Magic Home Pro app from either the Google Play Store or the App Store. After installation, open the app and follow the instructions to set up the LED lights.
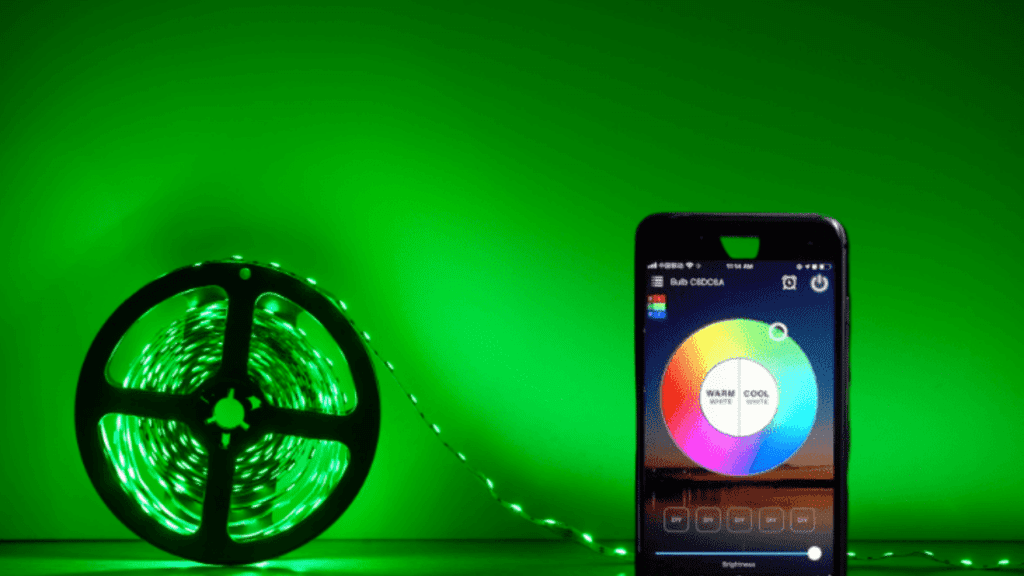
Once the lights are connected, go to the Alexa app, tap on Skills & Games, search for “Magic Home Pro,” and enable the skill after allowing the skill to, sign in with your Magic Home Pro account and follow the prompts to link it to your Alexa device.
Now, you can control your Daybetter LED Lights using voice commands through Alexa. LED lights have become increasingly popular in homes and businesses for their energy efficiency and endless creative possibilities. Controlling your LED lights has always been challenging with integrating smart home technology, such as voice assistants like Alexa. This guide will explore how to connect your Daybetter LED Lights to Alexa, allowing you to control your lighting ambiance with just your voice effortlessly. Following these simple steps, you can enhance your home automation experience and create the perfect lighting atmosphere for any occasion.
Step-By-Step Guide
In this step-by-step guide, you can learn how to effortlessly connect Daybetter LED Lights to Alexa. First, enable the Daybetter LED Lights skill on the Alexa app. Once enabled, you can proceed to link your Daybetter LED Lights account with the Alexa app. Open the Alexa app, navigate to the Devices tab, and select the “+” button to add a new device. Choose the Light and Other Devices option, and follow the on-screen instructions to set up the device.
Once connected, you can use voice commands to control your Daybetter effortlessly LED Lights with Alexa. Use natural language to turn the lights on or off, adjust brightness levels, or even change colors for a personalized atmosphere. However, if you encounter any issues, there are troubleshooting tips you can try. Check your Wi-Fi connection, ensure that the Daybetter LED Lights and Alexa app are up to date, and restart devices if necessary. If problems persist, reinstall the Daybetter LED Lights skill.
Tips And Recommendations
When connecting your Daybetter LED lights to Alexa, there are several tips and recommendations to remember. First and foremost, using descriptive names for your LED lights is essential. This will make it easier for Alexa to understand and control them.
Furthermore, creating customized Alexa routines can significantly enhance the convenience of controlling your LED lights. You can automate specific lighting settings based on your preferences or schedule by setting up routines.
Additionally, it is worth exploring the additional skills and integrations available for an enhanced lighting experience. Some various third-party apps and services can seamlessly integrate with Daybetter LED lights and Alexa, providing even more functionality and control.
Following these tips and recommendations, you can seamlessly connect your Daybetter LED lights to Alexa and enjoy a user-friendly and convenient lighting experience.
Frequently Asked Questions For How To Connect Daybetter Led Lights To App?
How Do You Connect Daybetter Led Lights To Your Phone?
To connect Daybetter LED lights to your phone, follow these steps:
- Download the Daybetter app from the app store.
- Ensure that your phone’s Bluetooth is turned on.
- Open the app and follow the prompts to pair and connect the lights to your phone.
- Once connected, you can control the lights using the app’s features.
Does Daybetter Leds Have An App?
Yes, Daybetter LEDs have an app available for easy control and customization.
How Do You Connect Daybetter Led Lights?
To connect Daybetter LED lights together, plug the power supply into the first light strip, then connect subsequent strips using the included connectors.
How Do You Use Daybetter Led Light Remote?
To use the Daybetter LED light remote, point it toward the lights and press the desired button for the desired effect or color.
Conclusion
To effectively link your Daybetter LED Lights with the app, follow these straightforward instructions provided in this manual. First, ensure your phone and the LED lights are connected to the same Wi-Fi network. Next, download and install the Daybetter app from either the Google Play Store or the App Store.
First, launch the application and sign up for an account if needed. Then, turn on the LED lights by pressing the power button and access the settings on your mobile device. Choose the “Wi-Fi” option and search for the Wi-Fi network associated with the LED lights. Connect to this network and then return to the app.

