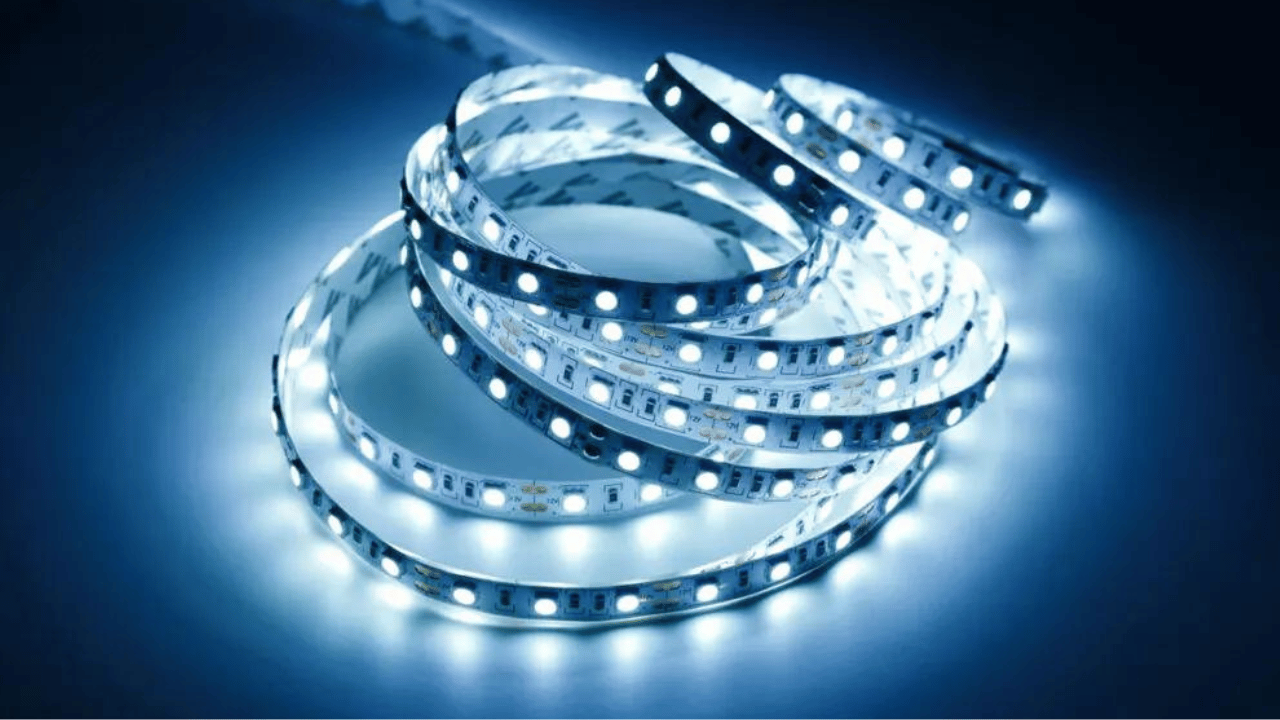
To remove LED lights without damaging paint, follow these steps carefully.
Understanding The Importance Of Proper Removal Techniques
Proper removal techniques are vital to prevent peeling paint when taking down LED lights. Learn how to avoid damaging the walls and maintain their integrity with these helpful tips.
When it comes to taking down LED lights, it’s not just about removing them quickly and easily. Proper removal techniques are crucial for protecting the paint on your walls. Failing to do so can result in potential risks and damages that can be quite costly.
In this section, we will explore why removing LED lights safely is so important and the potential risks that can occur if not done correctly.
Why Removing LED Lights Safely Is Crucial For Protecting The Paint
Taking down LED lights may seem simple, but it’s essential to do it properly to prevent any damage to the underlying paint. Here’s why it matters:
- Preserving the aesthetics: Proper removal techniques ensure that your walls retain a pristine appearance. Peeling or damaged paint can be unsightly and can significantly impact a room’s overall look and feel.
- Avoiding paint peeling: Incorrect removal methods, such as pulling the lights off forcefully, can cause the paint to peel off along with the adhesive or mounting tape. This can result in unsightly patches on the wall that require touch-ups or even a complete repaint.
- Preventing surface damage: Vigorous removal attempts or using sharp tools can scratch or dent the surface of your walls. This can be problematic, especially if you have a delicate or textured paint finish, as repairs may be difficult and costly.
- Maintaining property value: Protecting the paint on your walls helps maintain the value of your property. Whether you’re a homeowner or a renter, keeping your walls in good condition ensures a positive impression and potentially higher resale or rental value.
Potential Risks And Damages That Can Occur If Not Done Correctly
Improperly removing LED lights can lead to various risks and damages that may require repairs or touch-ups. It’s essential to be aware of these potential issues to avoid any unnecessary costs or inconveniences. Here are some common risks associated with incorrect removal techniques:
- Paint peeling or bubbling: If the adhesive backing of the LED lights is forcefully ripped off, it can cause the paint to peel or bubble. This is especially true if the paint needs to be adequately cured or if low-quality adhesive is used.
- Surface scratches and dents: Using sharp or improper tools to remove the lights can lead to scratches or dents on the wall surface. This is particularly problematic if your walls have a delicate finish or texture that requires professional touch-up work.
- Electrical damage: Mishandling the LED lights during removal can result in electrical damage, such as short circuits or broken wires. It’s important to exercise caution and follow proper procedures to avoid any electrical hazards.
- Mounting damage: Incorrect removal methods can damage the mounting brackets or tape, making it difficult to reattach or remount the lights in the future. This may require additional effort and expense to repair or replace.
By understanding the importance of proper removal techniques and the potential risks involved, you can take the necessary precautions to protect your walls and avoid any unnecessary damage. It’s always best to follow recommended guidelines and consult professionals if needed to ensure a safe and damage-free LED light removal process.
Gathering The Necessary Tools And Materials
Gather tools and materials like a screwdriver, non-damaging adhesive hooks, and a stepladder to remove LED lights without damaging paint. Using these items, you can safely remove the lights without causing any damage to the surrounding paintwork.
Essential Tools For Removing LED Lights Without Damaging Paint:
Before starting the process, gather these essential tools to ensure a smooth removal of LED lights without causing any damage to the paint:
- Soft cloth or microfiber towel: Use this to protect the paint surface while removing the LED lights.
- Plastic pry tool or putty knife: These tools will help gently loosen the LED lights without scratching or peeling the paint.
- Isopropyl alcohol or adhesive remover: Depending on the adhesive used to attach the LED lights, having either can help dissolve and remove any residue left behind.
- Hairdryer or heat gun: Applying heat to the LED lights can make the adhesive more pliable, making it easier to remove without damaging the paint.
- Screwdriver or Allen wrench (if applicable): Certain LED lights may have screws or fasteners holding them, so having the appropriate tool can aid in their removal without harming the paint.
Additional Materials That May Be Required For Specific Situations:
Depending on the specific circumstances, you might need additional materials to safely take down LED lights without peeling the paint:
- Razor blade or utility knife: If the LED lights are stubbornly adhered, carefully using a razor blade or utility knife can assist in loosening them, but be cautious of the paint surface.
- Isopropyl alcohol or adhesive promoter: In cases where the adhesive is powerful or leaves behind stubborn residue, using isopropyl alcohol or an adhesive promoter can help dissolve and remove it effectively.
- Painter’s tape: If you need extra protection for specific areas of the surrounding paint, applying painter’s tape beforehand can prevent accidental damage.
- Plastic gloves: Using gloves can protect your hands while handling the LED lights and any chemicals used during removal.
- Soft brush or toothbrush: When dealing with dirt or grime buildup around the LED lights, gently scrubbing with a soft brush or toothbrush can assist in cleaning the area.
Remember, the tools and materials needed may vary depending on your specific situation, so assess the condition of the LED lights and surrounding paint before proceeding with the removal process.
Step by Step Guide Remove LED Lights Without Damaging Paint
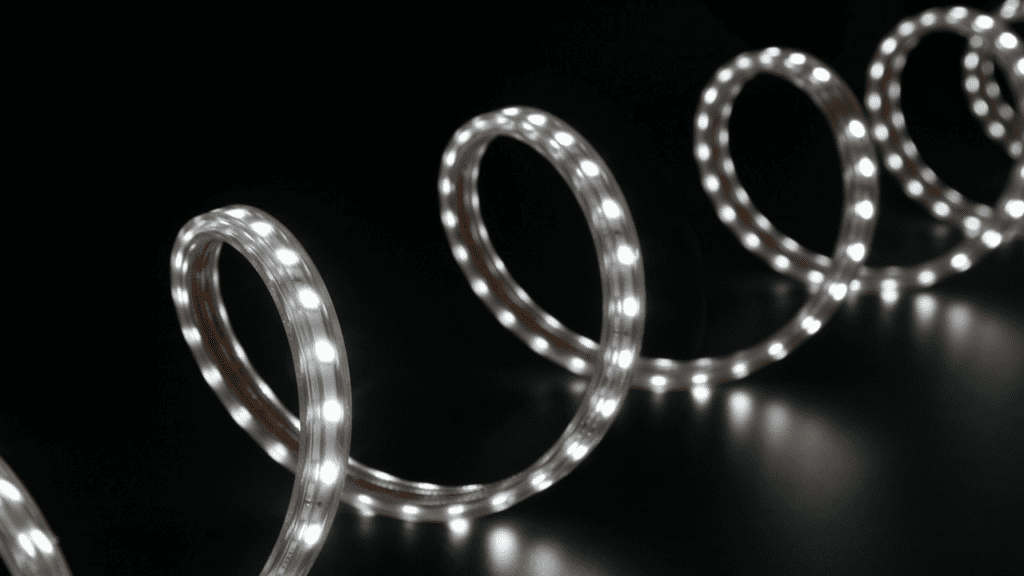
When removing LED lights without peeling paint, it’s essential to prepare the area properly. By following these steps, you can ensure a smooth and damage-free experience.
Step 1: Clearing The Workspace And Ensuring A Clean Environment:
To avoid any mishaps and maintain a clean work area, it’s crucial to clear the space and create an environment that minimizes the risk of damage. Here’s what you need to do:
- Remove any objects or furniture that could get in your way or be accidentally bumped into during the process.
- Clear the floor and surrounding surfaces of any dust, debris, or loose material that could fall on the paintwork.
- Use a broom or vacuum cleaner to ensure a clean environment, paying extra attention to corners and crevices.
- Wipe down the walls and nearby surfaces with a slightly damp cloth to remove any dirt or grime that may have accumulated over time.
- Consider covering the floor with a drop cloth or protective covering to catch any falling debris or prevent accidental damage.
By taking these precautions, you create a safe and clean workspace, ensuring that your LED light removal process goes smoothly without any unwanted paint peeling or damage to the surrounding area.
Remember, preparation is critical to a successful outcome, so take your time and ensure the workspace is free from potential hazards or contaminants. With step 1 completed, we can move on to the next phase: taking precautions to protect surrounding surfaces from damage.
Step 2: Disconnecting The Power Source
Disconnecting the power source is essential when removing LED lights without peeling paint. Ensure to safely turn off the power before removing the lights to avoid damage.
- Locate the breaker panel: Find the breaker panel in your home or building. It is usually located in a basement, garage, or utility room. If you need more clarification, consult the blueprint of your property.
- Identify the LED light circuit: Look for the circuit breaker labeled specifically for the LED lights you want to take down. It may be labeled with abbreviations such as “LED,” “Lights,” or the specific room or area where the lights are installed.
- Switch off the circuit breaker: Once you have located the correct circuit breaker, switch it to the “Off” position. This will cut the power supply to the LED lights, ensuring safety during the removal process.
- Double-check the lights: After switching off the circuit breaker, double-check the LED lights to ensure they are no longer on. This will confirm that the power supply has indeed been disconnected.
- Use a voltage tester: For an extra layer of safety, consider using a voltage tester to confirm that there is no electrical current running to the LED lights. This device will indicate whether or not voltage is present, helping you stay safe during removal.
By following these steps and disconnecting the power source, you can avoid potential electrical hazards and safely take down your LED lights. Safety should always be the top priority when working with electrical systems.
Step 3: Removing The Led Light Fixtures
To remove LED light fixtures without peeling paint, follow these simple steps:
- Turn off the power supply.
- Gently detach the fixtures using a screwdriver or a pry tool.
- Carefully unplug the wires and remove the fixtures, ensuring they do not damage the surrounding paint.
Detaching LED light fixtures without causing damage to your paintwork can be a challenging task. However, you can ensure a smooth removal process with the right techniques. Follow these detailed instructions for removing different types of fixtures:
Flush-Mounted Led Light Fixtures:
- Begin by turning off the power supply to the light fixture.
- Carefully inspect the fixture to locate any screws or fasteners holding it in place.
- Using a screwdriver or appropriate tool, remove the screws from the fixture.
- Gently pull the fixture away from the surface, ensuring it does not put excessive pressure on the paint.
- If the fixture has adhesive backing, apply heat to soften the adhesive before detaching it.
Recessed Led Light Fixtures:
- Turn off the electricity supply to the light fixture in the circuit box.
- Identify any springs or clips holding the fixture in place.
- Disengage the springs or clips by pushing or pulling them, depending on the mechanism.
- Slowly pull the fixture out of the recessed area, taking caution not to scrape the surrounding paint.
- In case of any adhesive residue, use a mild adhesive remover to clean the surface.
Surface-Mounted Led Light Fixtures:
- Switch off the power supply to the light fixture.
- Check for any screws or brackets securing the fixture.
- Loosen and remove the screws using an appropriate tool.
- Gently detach the fixture from the surface, ensuring a smooth and controlled movement.
- Use a mild adhesive remover to eliminate any sticky residue left behind.
Appropriate techniques are crucial when removing LED light fixtures to prevent peeling paint. By following these instructions, you can ensure a safe and seamless removal process without compromising the integrity of your painted surfaces.
Step 4: Addressing Adhesive Residue
It is important to address any adhesive residue left behind to safely remove LED lights without damaging paint. Follow these steps for a hassle-free removal process.
Addressing adhesive residue can be a common challenge when taking down LED lights. However, with the right tips and tricks, you can effectively remove the residue without causing any damage to your paint. Here are some safe cleaning methods to follow:
Tips And Tricks For Effectively Removing Adhesive Residue:
- Heat and peel method: Start by applying heat to the adhesive residue using a hairdryer or heat gun. The heat will soften the adhesive, making it easier to peel off. Carefully use a plastic scraper or fingernail to lift the residue and peel it away from the surface.
- Rubbing alcohol: Another effective method is to use rubbing alcohol. Pour a small amount of alcohol onto a clean cloth or cotton pad. Gently rub the adhesive residue in a circular motion until it dissolves. Continue rubbing until the residue is completely removed.
- Cooking oil or olive oil: Apply a small amount of cooking oil or olive oil directly onto the adhesive residue. Let it sit for a few minutes to penetrate the residue. Rub the residue in a circular motion using a soft cloth until it starts to loosen. Wipe away the residue with a clean cloth.
- Commercial adhesive removers: Various adhesive removers are available in the market specifically designed to remove adhesive residue. Follow the instructions on the product carefully and apply it to the residue. Allow it to sit for a few minutes, then wipe away the residue with a cloth.
- Vinegar solution: Mix equal parts of white vinegar and water to create a solution. Dampen a cloth with the vinegar solution and gently rub the adhesive residue. The vinegar will help break down the sticky residue, making it easier to remove.
- Baking soda paste: Mix baking soda with water until it forms a thick consistency. Apply the paste to the adhesive residue and let it sit for a few minutes. Scrub the residue gently with a soft-bristle brush or cloth until it comes off. Rinse the area with water to remove any remaining residue.
Remember, it is important to test any cleaning method in a small, inconspicuous area first to ensure it does not damage or discolor the paint. Always use gentle pressure when scrubbing to avoid scratching the surface. With these safe cleaning methods, you can effectively remove adhesive residue from your walls without peeling off the paint.
Step 5: Patching And Touching Up
Patching and Touching Up – Learn how to safely remove LED lights without damaging the paint. Follow these simple steps to ensure a smooth finish and avoid peeling or chipping.
Assessing The Condition Of The Paint After LED Light Removal
After removing LED lights from your walls, it’s important to assess the paint’s condition to determine if any damage needs to be repaired. Here are the steps to follow to assess the paint:
- Inspect the area where the LED lights were installed. Look for any signs of damage, such as chips, cracks, or peeling paint.
- Check the surrounding paint to see any color inconsistencies or noticeable blemishes.
- Carefully run your fingers over the paint’s surface to feel for any rough patches or uneven areas.
- Shine a light at different angles onto the wall to identify imperfections that may not be easily visible.
Once you have assessed the paint’s condition, you can repair any cosmetic damage and touch up the surface.
Steps To Repair Any Cosmetic Damage And Restore The Surface
Repairing cosmetic damage to the paint and restoring the surface will help ensure a seamless transition after removing LED lights. Follow these steps to get the job done:
- Gather the necessary materials for the repair, including paint matching the color of the existing wall, a putty knife, fine-grit sandpaper, a damp cloth, and a paintbrush.
- Using the putty knife, begin by gently scraping away any loose or peeling paint. Be careful not to damage the surrounding area.
- Use the fine-grit sandpaper to smooth out any rough patches or uneven surfaces. Lightly sand the area until it feels smooth to the touch.
- Wipe away any dust or debris using a damp cloth, ensuring the surface is clean and dry before moving on.
- Apply a thin layer of primer to the repaired area. This will help the touch-up paint adhere better and prevent future peeling or cracking.
- Once the primer is dry, use a paintbrush to apply the touch-up paint to the damaged area. Be sure to feather the edges to blend them seamlessly with the surrounding paint.
- Allow the paint to dry entirely before assessing if additional touch-ups are needed. Apply additional coats as necessary, ensuring each layer is dry before proceeding.
- Finally, step back and inspect the repaired area to ensure that the touch-up paint matches the existing paint and that the surface looks smooth and uniform.
Following these steps, you can effectively repair cosmetic damage caused by removing LED lights and restoring the surface to its former glory without peeling the paint.
Safely Storing The LED Lights For Future Use
Learn how to safely Remove LED lights without damaging paint, ensuring they can be reused. Follow these tips to protect your walls while removing the lights effectively.
Proper Storage Techniques To Prevent Damage Or Deterioration:
- Store LED lights in a dry, temperature-controlled environment to prevent moisture damage.
- Keep them away from direct sunlight or excessive heat to avoid color fading or deterioration.
- Use a container with dividers or compartments to prevent tangling or bending of the lights.
- Coil the LED lights loosely to avoid putting strain on the wires.
- Consider using zippered storage bags or wrapping the lights around a firm cardboard reel for protection.
Tips For Organizing And Labeling LED Lights For Easy Retrieval:
- Label each set of LED lights with a description, such as “indoor Christmas lights” or “outdoor patio lights.”
- Use color-coded labels or tags to identify different sets or types of LED lights quickly.
- Store similar LED lights together to make them easier to find when needed.
- Use clear storage boxes or bins to quickly identify the contents without opening each one.
- Consider creating an inventory list or spreadsheet to keep track of all your LED lights, including where they are stored.
Remember, proper storage techniques and organization play a crucial role in extending the lifespan of your LED lights and ensuring they remain in good condition for future use. Apply these tips to protect your investment and make it easier to find and use your LED lights whenever needed.
Frequently Asked Questions Of How To Take Down Led Lights Without Peeling Paint?
Do Led Lights Peel Off Paint?
LED lights do not peel off paint as they emit little heat and pose no risk to your paint job.
How Do You Remove Led Strip Lights From the Wall And Reuse?
To remove LED strip lights from a wall and reuse them, follow these steps:
1. Gently peel the strip from the wall, starting from one end.
2. Use a hairdryer to loosen any adhesive.
3. Clean the wall surface with rubbing alcohol to remove any residue.
4. To reuse, use new adhesive or mounting clips to secure the strip lights to another surface.
Conclusion
To conclude, removing LED lights without damaging the paint on your walls is a task that requires care and attention. Following the steps outlined in this blog post ensures that the process is carried out smoothly and effectively.
Start by turning off the power to the lights and gather the necessary tools for the job. Carefully detach the lights from their mountings, being cautious not to pull or twist them forcefully. Utilize a putty knife or painter’s tape to protect the paint while removing any adhesive residue.
Finally, address any touch-ups that may be necessary to restore the wall’s appearance. With these tips in mind, you can successfully take down LED lights without peeling paint and maintain the integrity of your walls. Trusting proper techniques and utilizing the right tools will ensure a seamless removal process and keep your walls looking pristine.

